My Camera Settings Cheat Sheet
+ Shooting mode: P
+ Flash ON (in settings – not just open on the side)
+ ISO: 160-250 depending on outside lighting
+ Exposure: between 0 & -2 (depending on skin tone and lighting)
1. Use shooting mode “P”
This “P” stands for Program Auto, and it’s a great way to give yourself more control without having to go too much into the nitty-gritty stuff. It automatically adjusts shutter speed and aperture to give you the right exposure for the situation, but it still lets you adjust those settings on the fly (rather than locking them in, which happens with the standard Auto Mode). It’s basically the best of both worlds between Auto and Manual, so it’s perfect for creating quality content without needing a ton of photo knowledge.
2. Turn on the flash
Flash is a must for getting the best lighting, both at night and in the daytime. Manually opening the flash doesn’t always turn it on, so make sure the camera’s flash setting is actually enabled and set to “ON.”
3. Set the ISO between 160-250 (depending on lighting!)
ISO is how sensitive your camera is to light, with 100 being on the low side of the spectrum and 1600 being the higher extreme. The lower ISO numbers are best for brighter situations, like shooting outside on a sunny day, while the higher numbers are best for shooting in low light, like shooting during golden hour, on a cloudy day or indoors. It might sound confusing at first, but it makes sense: If your environment is super bright, you’d want your camera to be less sensitive to light so your photos aren’t “blown out” aka overexposed.
4. Set the exposure between 0 and -2
First, a quick crash course on exposure. This refers to how much light actually reaches your camera lens. It’s controlled by three things: aperture (how wide the camera lens opens), shutter speed (how long it stays open), and ISO, which we just went over. Even if you’re totally new to this photography lingo, you’ve probably heard of exposure—that’s how important it is.
Exposure can make or break your photos. When it’s out of whack, your pictures can either appear either way too bright or way too dark. On the other hand, the right exposure can enhance the color and clarity of your shot, making it look better than it even did in real life! (Pro tip: Having the right exposure also makes it easier to edit photos later.)
It has an impact on skin tone, too. I’m sure we’ve all seen photos of ourselves where we look super washed out, no matter how fresh our tan is. That’s overexposure. Underexposure can be just as bad, accentuating shadows in a non-flattering way or just making everything so dark that you lose some of the details in your image.
I keep my camera set between 0 and -2, which is just the slightest bit of underexposure. I like this because it adds a touch of contrast for a little extra drama and helps highlights stand out, sort of like the auto-enhance button in the photo editing settings on my iPhone.
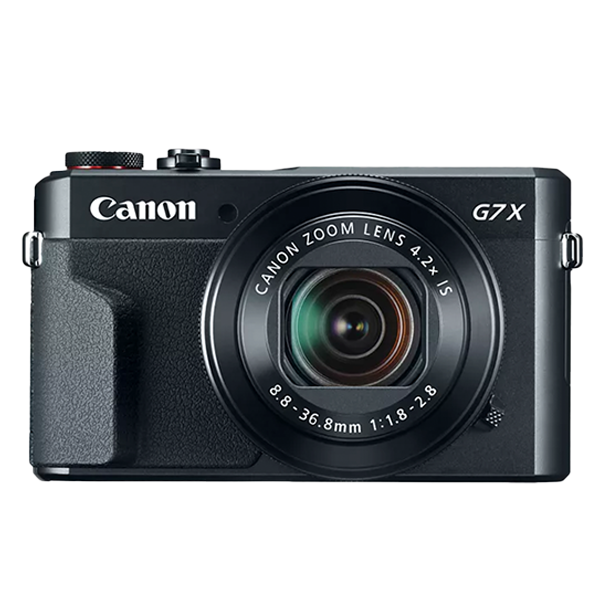
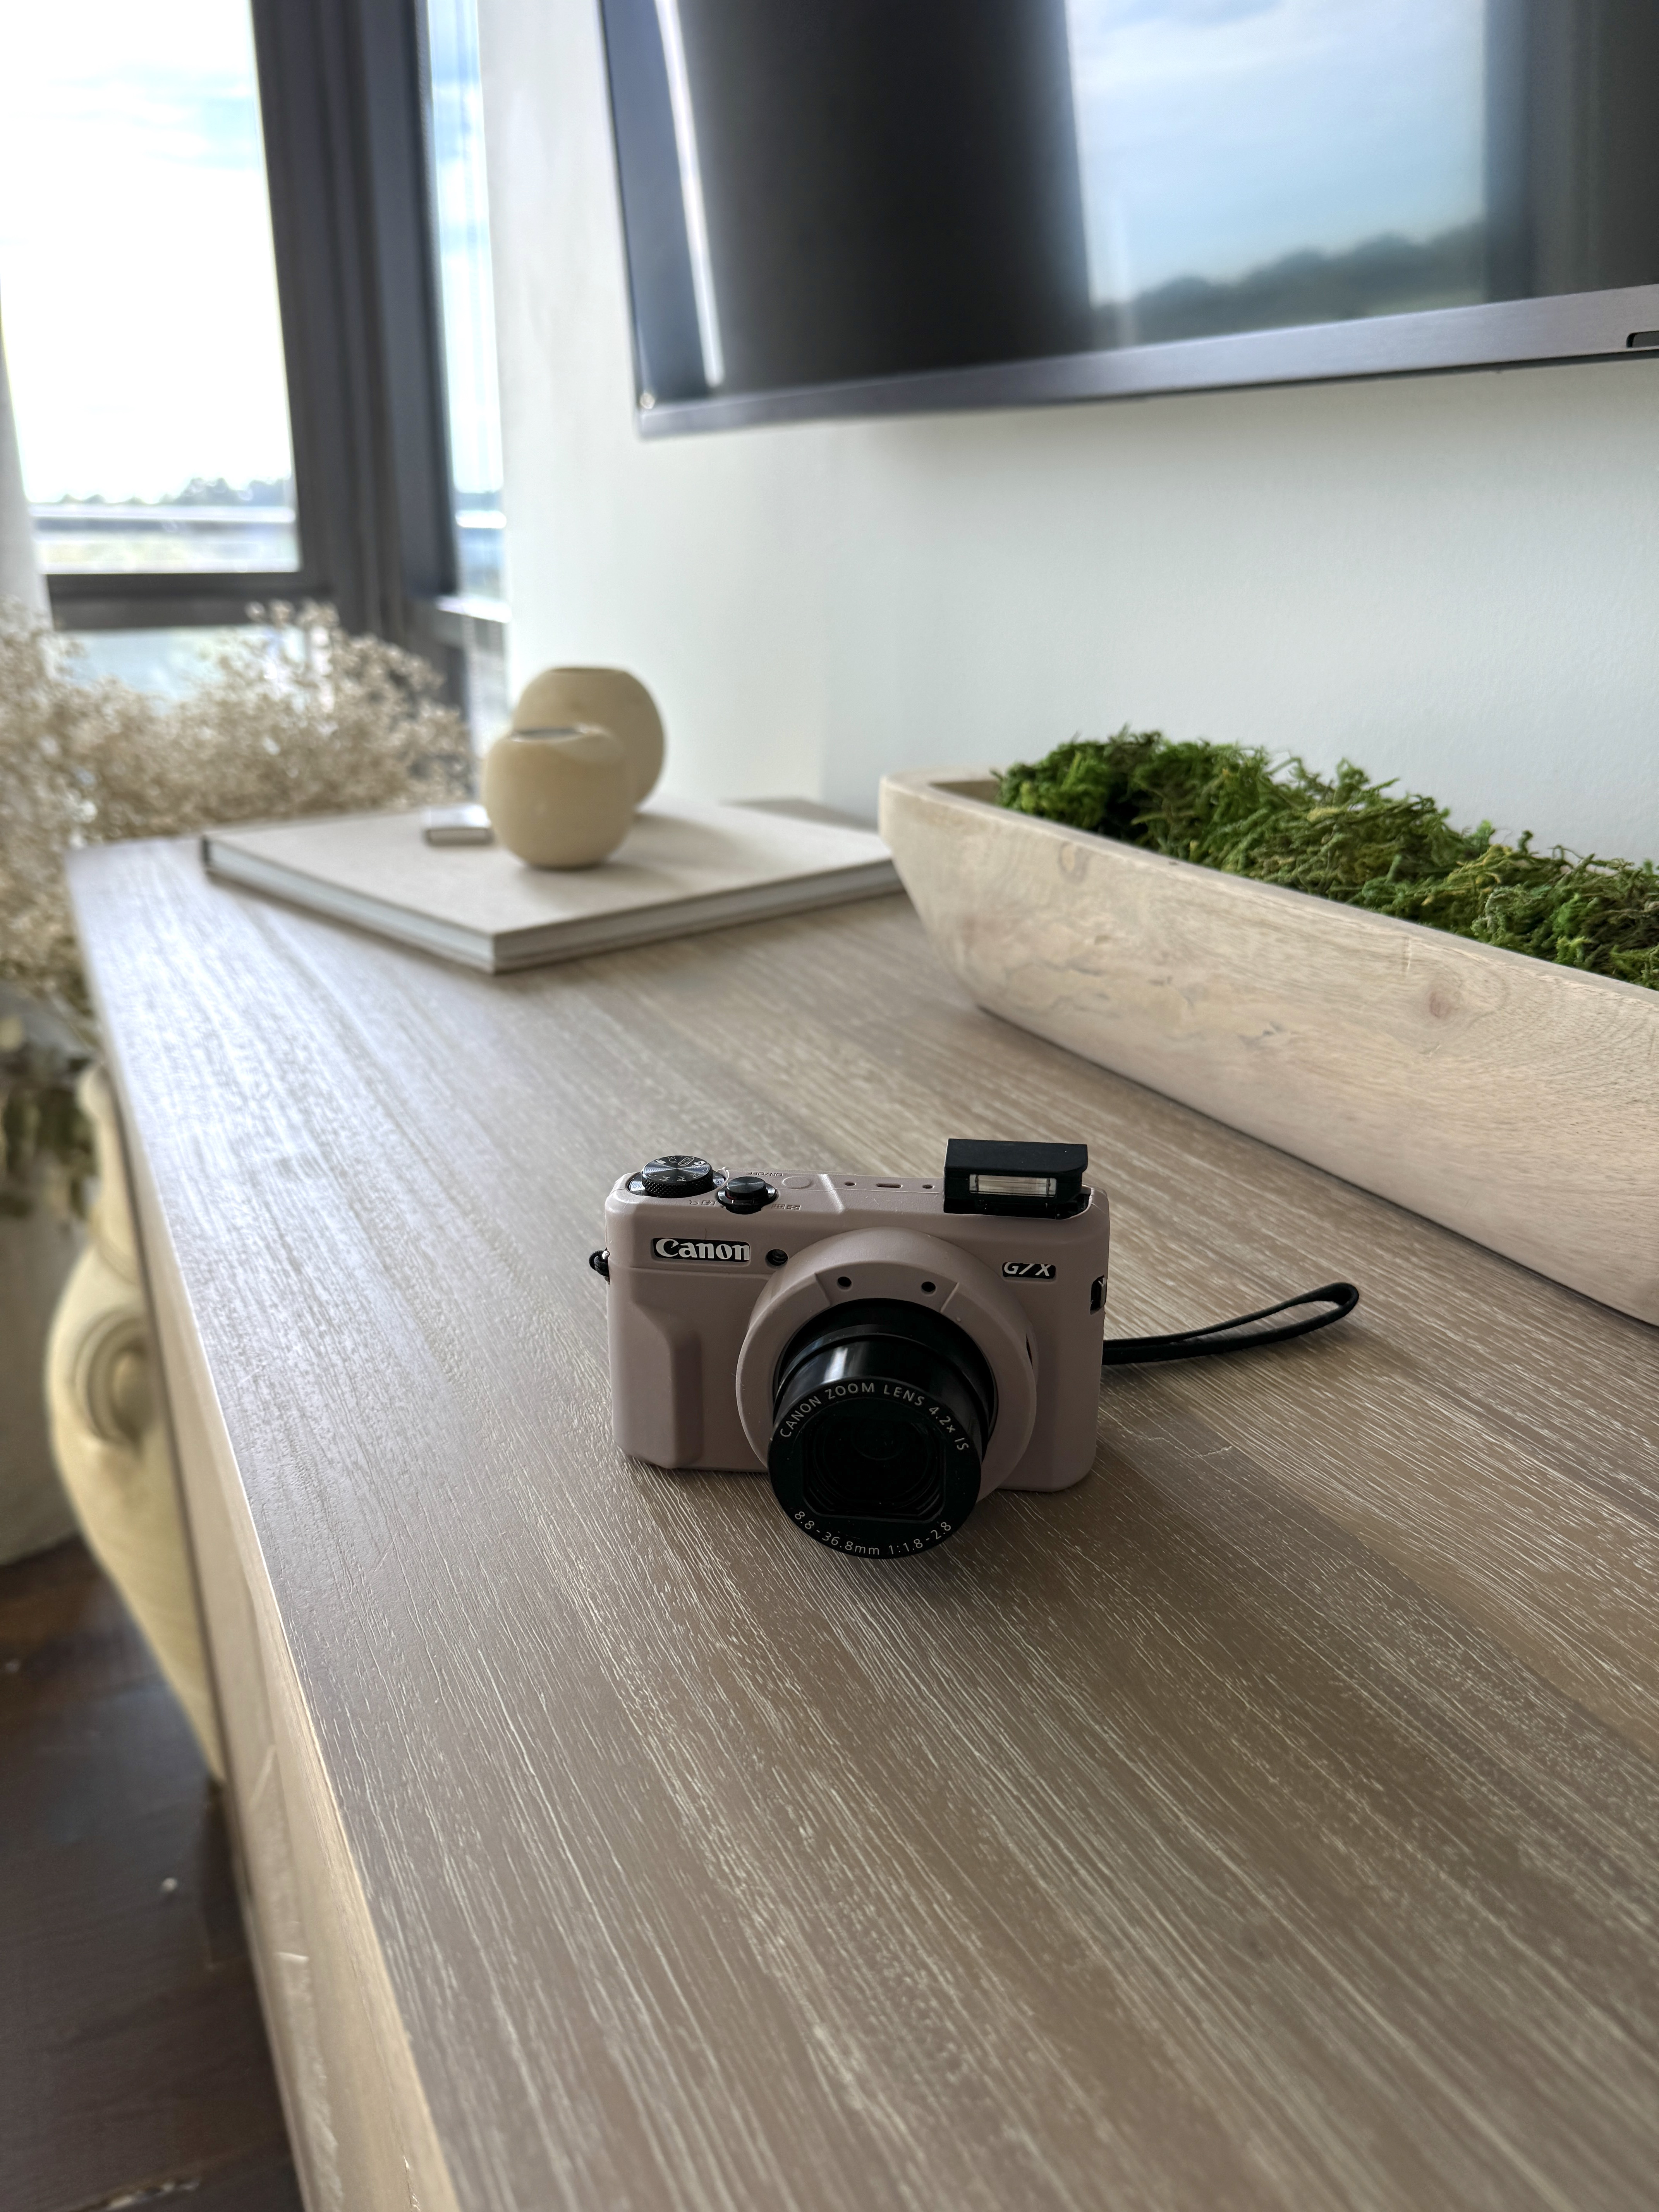
My camera of choice?
The Canon G7x Mark ii! I’ve tried a bunch of different cameras, but there’s so much to love about this one. It’s user-friendly and really easy to navigate through all the modes and settings I talked about here, so you can feel as confident as a pro. It’s also pretty small and portable so it’s great for taking on-the-go, even when I’m traveling. Especially considering its size, the quality is amazing! Combined with my tips, this camera will give you the best photos ever, trust me!
p.s. The Sony RX100 VII Premium Compact Camera gets an honorable mention here!