As you might have noticed, I’ve been a little obsessed with lifestyle/everyday photography since I was first introduced to Instagram back in my early college days (I know, I’m old). Throughout this IG photo-sharing journey I have learned a thing or two about maximizing quality and overall look when taking photos using just my phone. In this entry, I’ll be sharing the five iPhone photography tips that I consider to have had the most impact in my photography over time.
#1: Wipe clean your phone’s camera lens(es) EVERY SINGLE TIME before taking a photo. It’s something so simple yet most people overlook it. I just can’t stress this enough! I used to think this was obvious and would wipe my phone camera about once a day but I later realized that as the day went by the my photos got more and more hazy looking. Its crazy how much we accidentally touch or rub up against the our phones and how dirty most surfaces we place them down on are. Now, even if I take a 5 min pause from taking photos, I religiously re-wipe/clean the lens before picking back up where I left. Not only does it make a huge difference in the clarity of the photos but I’ve found it to have an even greater impact afterwards when I’m editing/applying filters!
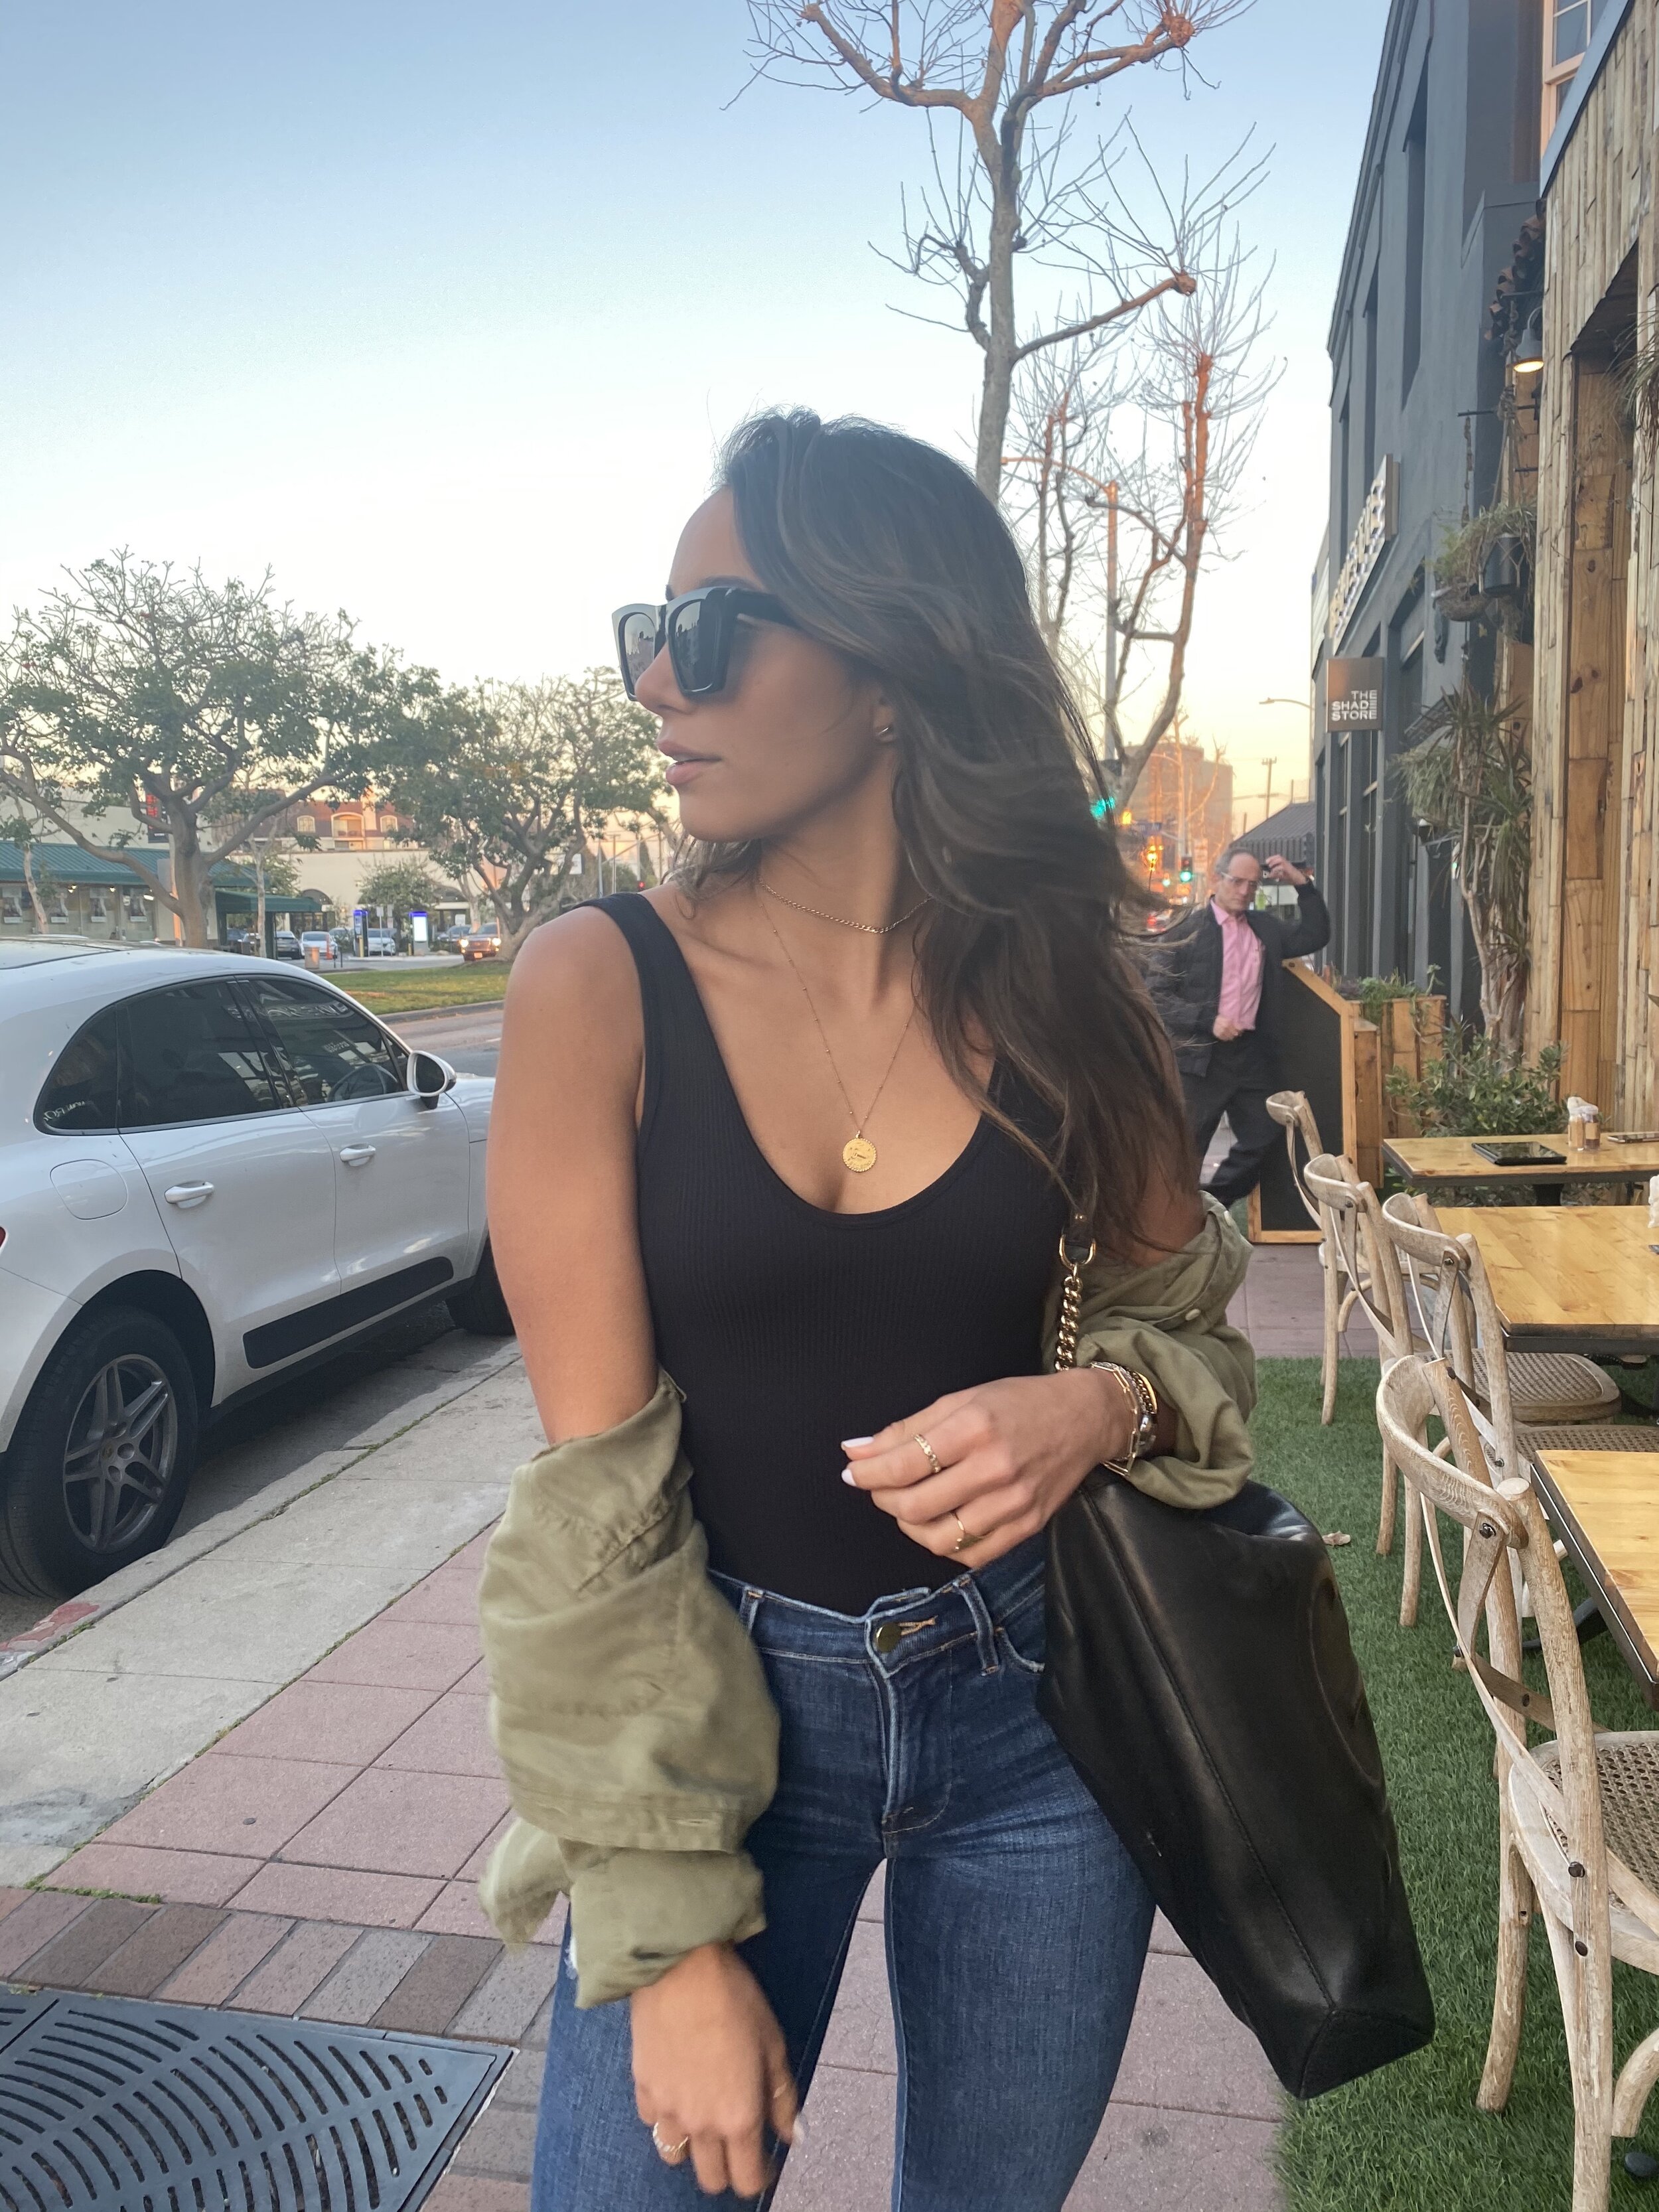 photo taken without wiping the camera lens
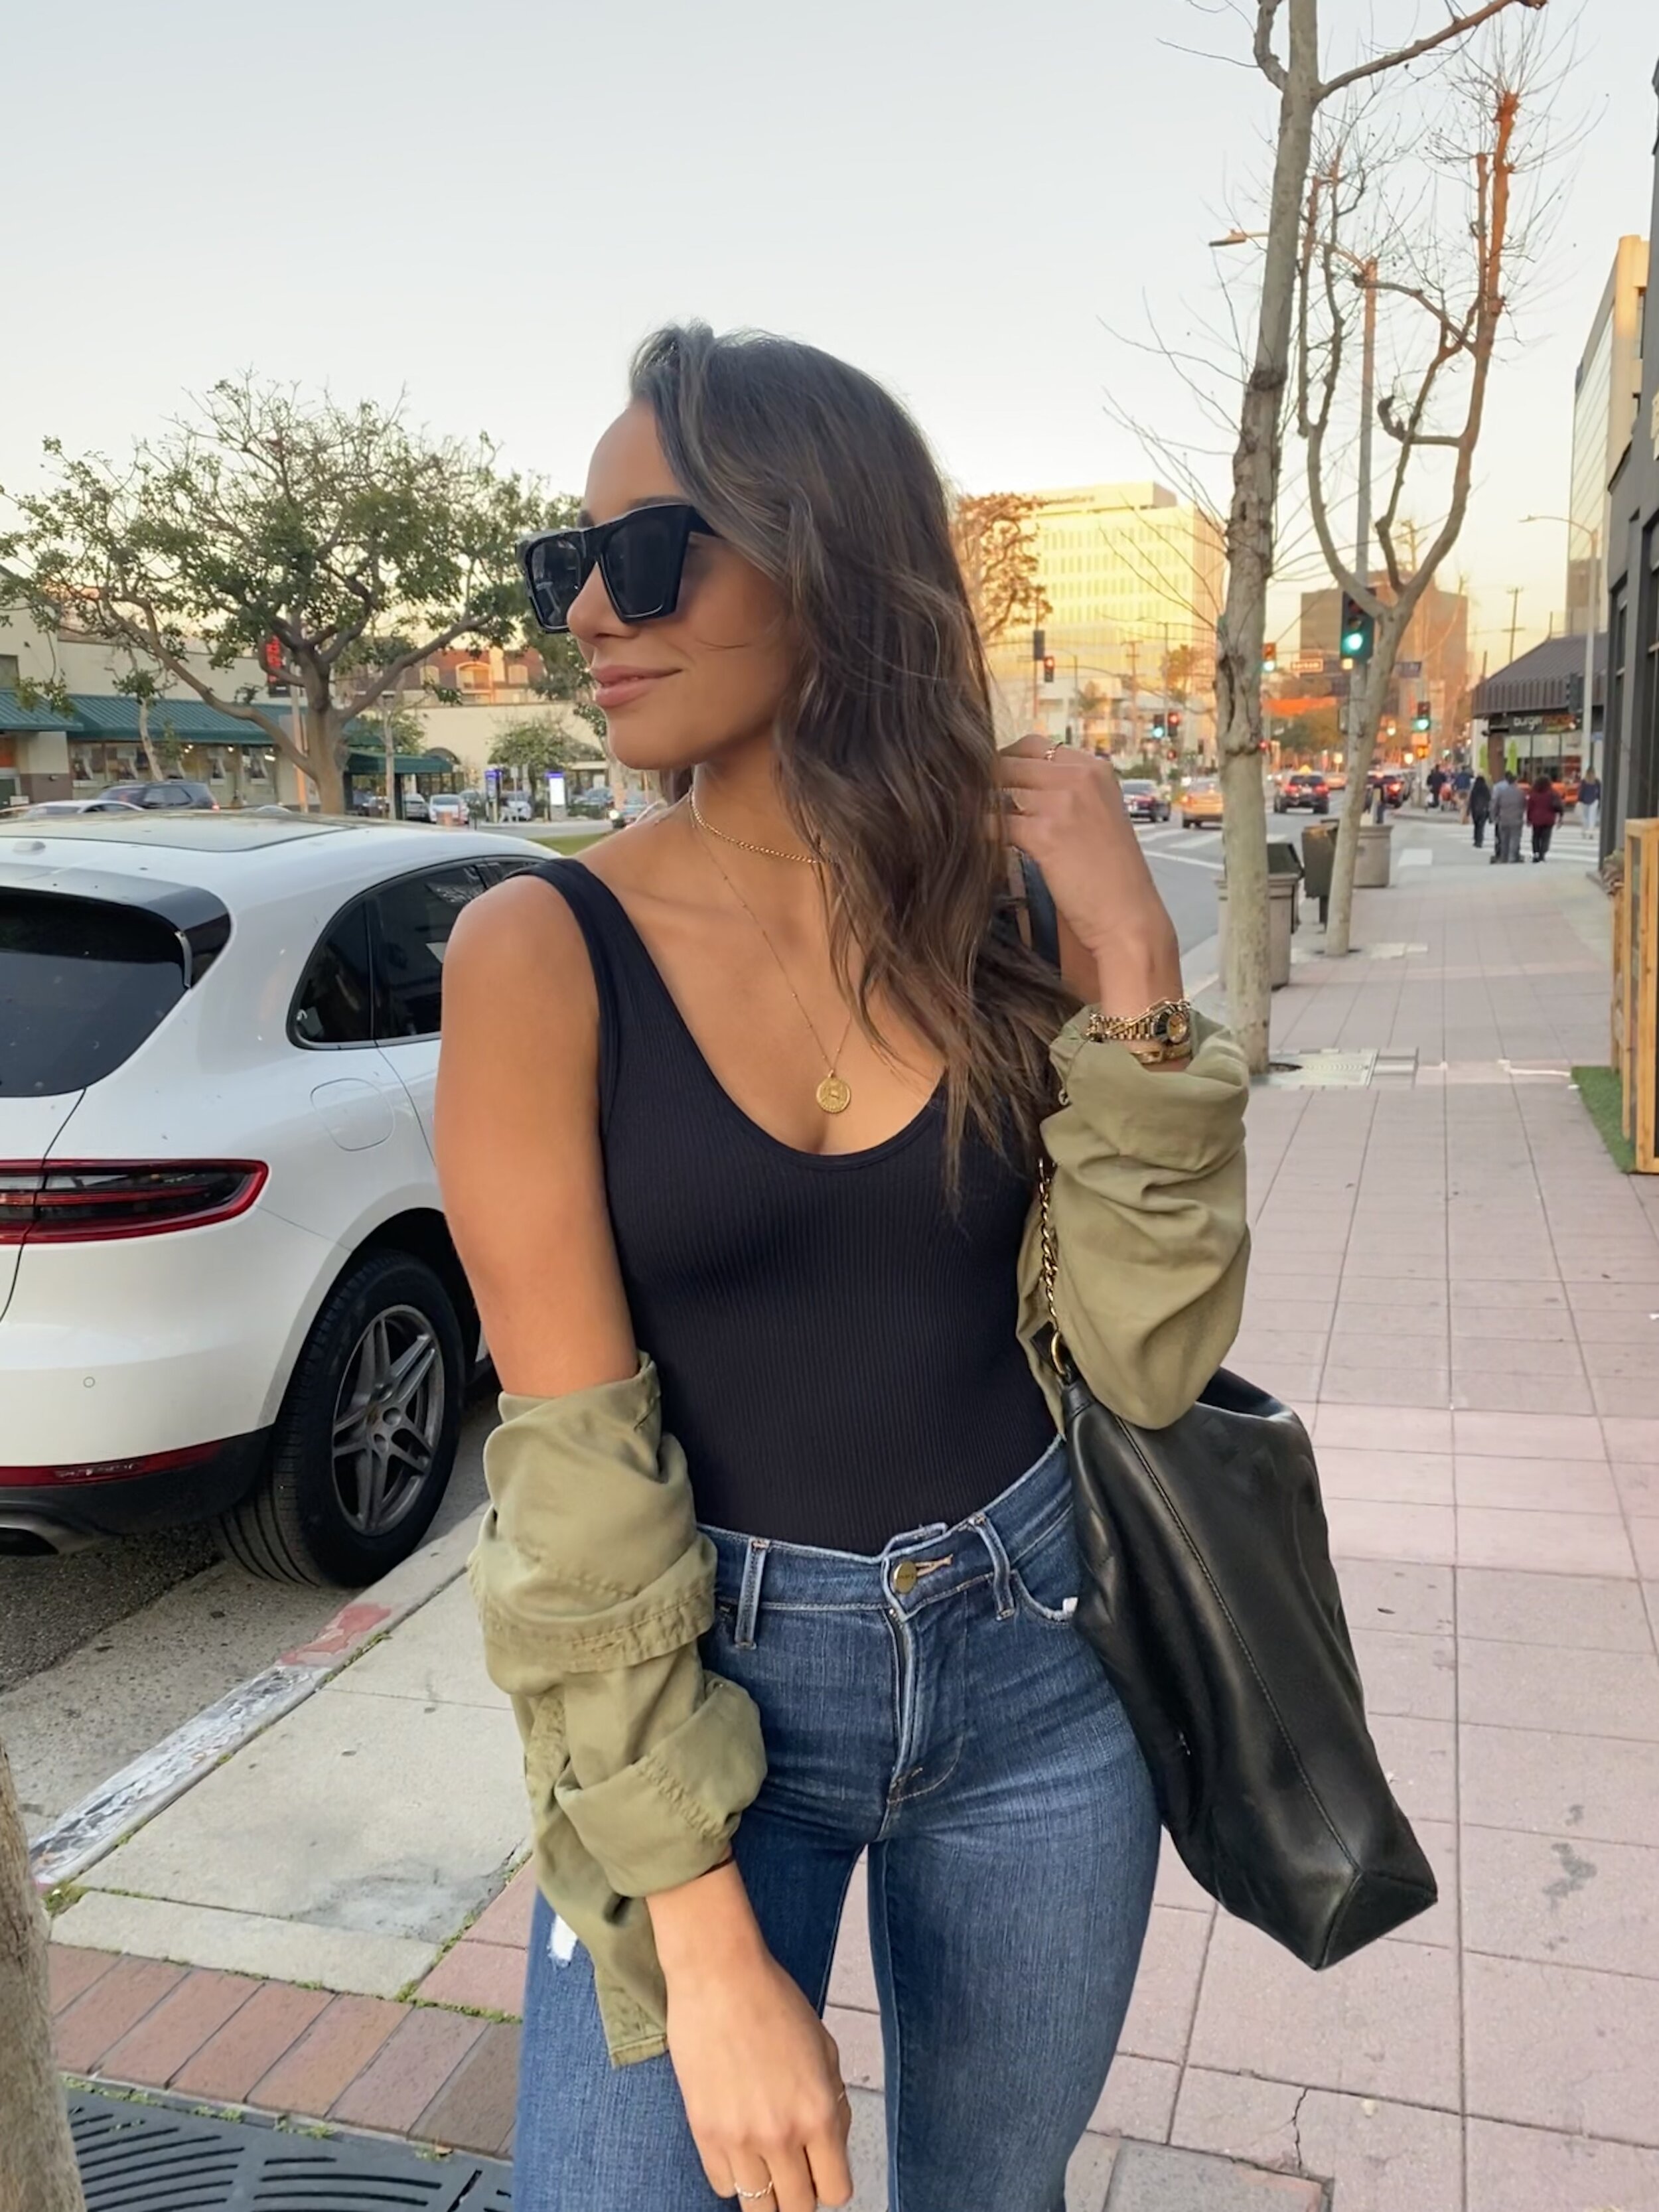 photo taken after wiping the camera lens (I just used my shirt)
– Note: if you don’t have a good quality, clear photo prior to applying a filter, chances are it will actually end up looking like a lower-definition photo post filter application
#2 Stay away from back-lit shots. Those beautiful back lit photos of sunsets and beaches we often see in magazines and travel pages are not only usually taken with professional equipment but also tend to be heavily edited using fancy software. I have faith that the way technology is moving, soon enough we will be able to successfully capture back-lit shots with our phones. However, at this moment in time we are better off leaving those shots to the professionals.
#3 The angle in which you hold your phone is literally EVERYTHING. This can truly make or break your shot. Whether you’re snapping a photo of your food or your girlfriend in her Sunday brunch outfit, you should be conscious of the angle in which you’re holding your phone/camera.
For example, when it comes to flat-lays I try to avoid taking the shot straight from above and instead I like to give the shot some depth. I do this by holding my phone up at about shoulder level or slightly higher and then tilting the camera forward roughly 45 degrees. This technique can obviously vary depending on a number of factors (lighting usually being the most common!) But as a rule of thumb it works pretty well.
When photographing other people I usually choose to shoot from slightly below the chest to create length or the illusion there of and also tilt the top of my phone backwards towards me a bit for the same reason! Most of the time this little trick works for both standing and sitting subjects.
#4 Shade and natural light are your friends so don’t give them your back! For some dumb reason when I first started “graming” I went through a phase where I wanted all of my pictures to look orange (I’m cringing) and so I took a lot of my shots during the daytime under the blasting sun. Such harsh light coming from straight above creates really unflattering shadows AND it makes editing afterwards an actual nightmare! I’ve recently gone as far as to avoid posting “beach-day” photos on my feed because the edits end up throwing off the feed’s consistency nearly every time (if you haven’t followed me for a while, daytime beach photos used to be like 90% of my IG feed so this was a big discovery on my end). I now typically chose to shoot when it’s overcast or if I find a nicely shaded area. The other/best option is to wait until its closer to sunset time or shoot early in the morning.
#5 Don’t just take candids but actually BE candid. I started doing this IG thing because I genuinely found it to be super fun! So my best advice is to simply have fun and make the most of the picture taking experience! Move around, play with your hair, throw your hands up in the air, laugh out loud or throw in a sexy smirk! Just don’t be the guy/gal with the one same boring pose and semi-frozen smile. Instead think about what’s special about this moment, the reason you’re choosing to document it, and then try channeling that feeling and energy into your bodily expressions!
+ Bonus Tip :
If you’ve mastered all of these tips/techniques but now find yourself in a situation where say you want your non-photographer friend to properly capture you, besides immediately sharing this blog entry with them (which you most definitely should do!) I suggest you first frame/create the photo that you want using your friend as your stand-in double. Test the angle, lighting, cleanliness of the lens, go all out and just have him or her replicate the shot (surprise surprise, that’s what I do with Nicky). I promise the outcome will be significantly better and the process itself a lot less frustrating for both you and your friend!
Hope you enjoyed this read and best of luck to in your picture taking endeavors!